Summer heat is a silent dash cam killer. Not because you “installed it wrong,” but because a windshield is basically a glass greenhouse that cooks anything stuck to it for hours.
Most summer dash cam failures fall into two buckets:
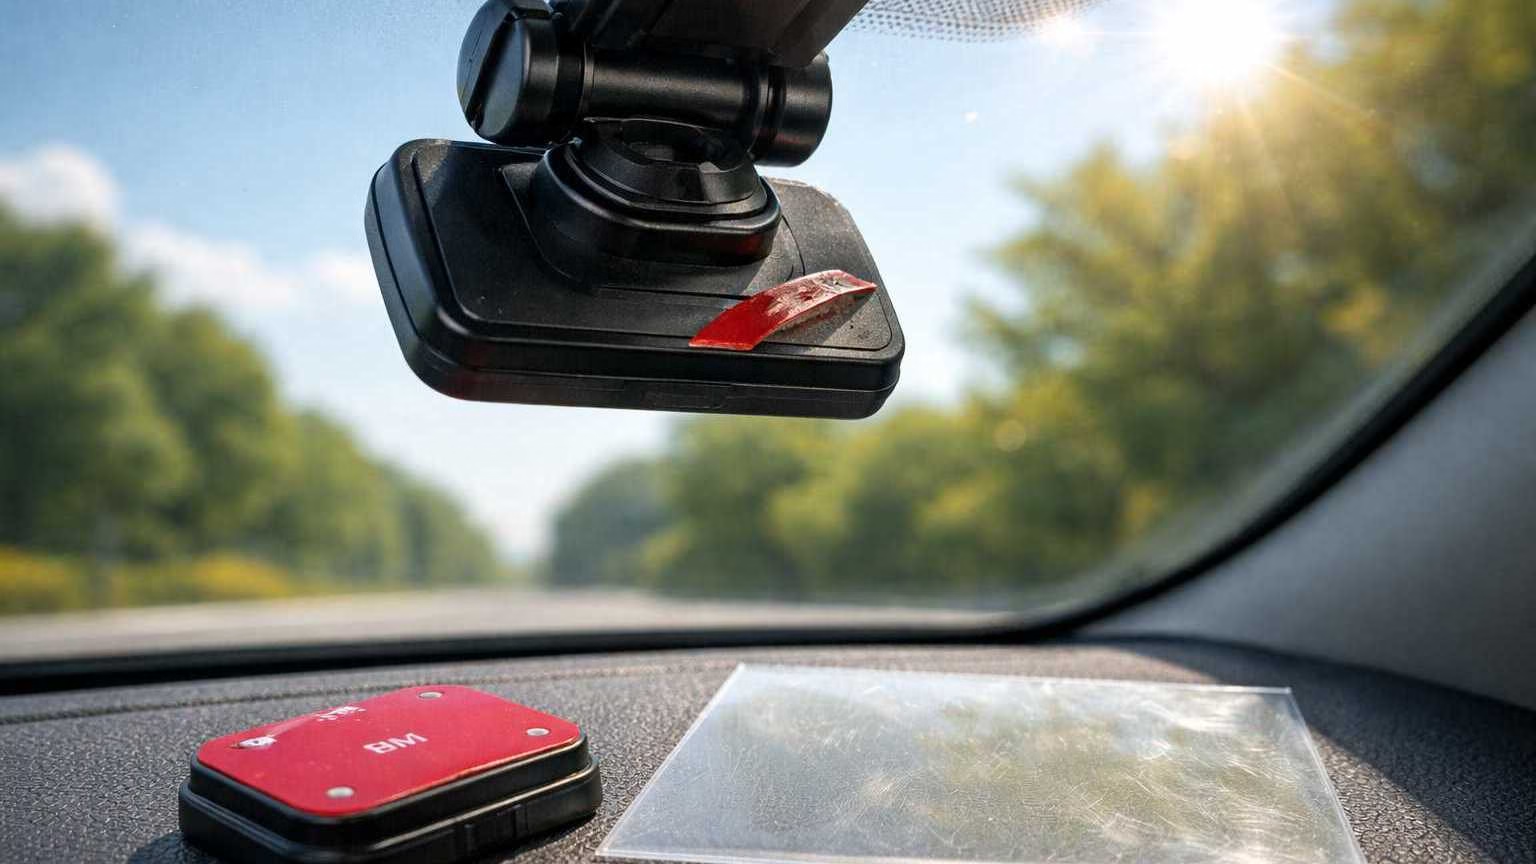
- The mount fails and the camera falls off the windshield
- The camera overheats and shuts down, reboots, or crashes mid-recording
This guide focuses on practical, heat-safe fixes that hold up better than “re-stick it and hope.” You’ll learn why adhesive fails, which mount types survive best, when static film helps, and how to reduce dash cam overheating without unrealistic promises.
(If you want a broader buyer-focused heat guide, this guide pairs well with.
Why Dash Cams Overheat in Summer
Dash cam overheating isn’t mysterious. It’s predictable once you understand what the windshield environment does to electronics.
1) The windshield greenhouse effect
Sunlight passes through glass easily, then turns into heat inside the cabin. The dashboard and windshield area soak it up and radiate it back. Your dash cam sits right in that hot zone, often pressed against the glass where heat accumulates.
2) Direct sunlight concentrates on the device
Even when the cabin doesn’t feel unbearable yet, the camera can be in direct sun. A small black device absorbs heat fast. If your dash cam has a screen, glossy surfaces can also increase heat absorption.
3) Internal heat from the processor (and sometimes a battery)
Recording video isn’t “light work.” The processor compresses footage continuously, writes it to the card, and sometimes manages Wi‑Fi, GPS, and parking mode logic. All of that generates heat inside a tight plastic shell.
If your model uses a lithium battery, heat stress can be worse. Batteries are sensitive to high temperatures and can degrade faster or behave unpredictably. Supercapacitor-based models are typically more tolerant of hot environments because they don’t rely on a heat-stressed internal battery. (More context here.)
4) Parked cars are worse than driving
While driving, airflow and A/C help stabilize cabin temperature. When parked, the heat just builds and sits. Parking mode can keep the camera running right through the hottest part of the day, which is why “it only crashes when parked” is so common.
If you use parking mode, it’s also worth ensuring your power setup is stable and safe, because heat + unstable power can create more crashes and file errors
And for proper power methods (especially for parking mode).
Why Adhesive Fails Under Heat (Critical)
If your dash cam falls off the windshield, the tape usually didn’t “randomly fail.” Heat changes the physics of adhesive, and your mount lives under constant shear force.
1) Standard foam tapes soften
Many dash cam kits ship with generic foam tape. It feels strong at room temperature. In summer heat, that foam layer can soften, turning the tape into something more like a cushion than a rigid bond.
Once it softens, the camera’s weight starts pulling it downward.
This is the core of “dash cam adhesive fails heat.”
2) Gravity creates shear force (the hardest force for tape)
Most people think the camera “pulls away” from the glass. But the more common failure is sliding: the mount slowly creeps downward because the camera’s weight creates shear force parallel to the windshield.
Tapes that look strong in a straight pull test can still creep in shear when hot.
3) Glass expands, plastics move differently
Glass and plastic expand differently with heat. The windshield is stable. The mount body can flex slightly. That tiny daily movement—heat cycle after heat cycle—gradually weakens the bond.
4) Residue failure after repeated heat cycles
Once tape has partially failed and left residue, people often try to “re-stick” on top of old adhesive or a half-cleaned surface.
That rarely works long-term because:
- leftover adhesive oils contaminate the surface
- the new tape bonds to residue, not clean glass
- the mount is already warped or misaligned from the first failure
If you do nothing else, do this: remove residue fully, clean properly, and start fresh with a mount strategy designed for heat.
Common Heat-Related Symptoms
Summer dash cam problems often show up as a pattern, not a single dramatic failure. Here’s what to watch for.
Mount and adhesion symptoms
- Camera falls off windshield (sometimes overnight)
- Mount slowly slides down over days
- Camera angle changes on its own
- Adhesive pad looks “bubbled” or gummy
Overheating and stability symptoms
- Random shutdowns during recording
- Reboot loops after a few minutes in direct sun
- Camera becomes unresponsive until it cools
- Wi‑Fi and screen glitches that appear only in heat
File and storage symptoms (heat makes this worse)
- Corrupted clips (won’t play)
- Missing segments in the loop
- “Card error” messages appearing more often during hot weeks
Heat stresses SD cards too. If you’re seeing corruption alongside overheating, make sure your storage setup is solid.
And for a deeper troubleshooting angle.
Swollen batteries (briefly, safety-focused)
If your dash cam uses a lithium battery and you notice:
- the case bulging
- the camera no longer sits flat
- unusual heat even when not recording
Stop using it and replace the unit. Do not attempt to open the battery, puncture it, or “repair” it. Heat-related battery swelling is a known failure mode in small electronics.
For the practical why behind battery vs capacitor designs.
Mount Types That Survive Heat (Core Section)
There is no “perfect” mount. There are only trade-offs. The goal is choosing the mount style that fits your parking habits, windshield surface (including frit dots), and how brutal your summer sun is.
Below are the main mount types that can work in hot weather, with honest pros/cons.
1) Proper-grade 3M VHB (the right way to do adhesive)
VHB is a family of high-bond acrylic foam tapes. The important part is “proper grade” and correct prep.
Pros:
- Strong bond when installed correctly
- Good long-term stability versus generic foam pads
- Clean look (no suction cup footprint)
Cons:
- Still vulnerable to bad prep (oil, dust, old residue)
- Harder to remove cleanly than weak tape
- Not a magic shield against dash cam overheating (it only fixes falling)
Best use:
- Permanent installs
- Drivers who want a tidy OEM-style mount
- High windshield placements where suction cups struggle
2) Static cling film + adhesive on top (a smart workaround)
Static film (electrostatic film) is a clear sheet that clings to glass without glue. You apply it to the windshield, then stick your adhesive mount onto the film.
Pros:
- Creates a clean, uniform surface (especially helpful on lightly textured areas)
- Can reduce residue directly on the glass
- Makes removal easier later
Cons:
- Adds an extra interface layer (film-to-glass + tape-to-film)
- Still requires careful installation to avoid bubbles/edges lifting
- Doesn’t solve overheating by itself
Best use:
- When you want adhesive stability but easier cleanup
- When glass surface is picky or you’re using a temporary setup
- When you need a workaround near dotted borders (but not directly over heavy frit dots)
Secondary keyword fit: static film dash cam mount
3) Suction mounts (surprisingly useful, but not foolproof)
Suction mounts get a bad reputation because cheap ones fail. But in certain heat scenarios, a quality suction mount can be more reliable than weak tape—especially if you frequently remove the camera.
Pros:
- Easy to reposition and remove
- No adhesive residue
- Useful for rental vehicles or multi-car use
Cons:
- Heat can soften suction materials and cause slow leaks
- Needs a perfectly clean surface
- Can loosen with extreme temperature swings
Best use:
- Rental cars and temporary installs (this is especially relevant here.)
- Drivers who frequently remove their camera to reduce heat exposure
- People testing placement before committing to adhesive
Secondary keyword fit: dash cam falls off windshield (suction helps some people stop repeated falls)
4) Mechanical bracket mounts (the “structure beats glue” option)
Mechanical mounts rely less on adhesive strength and more on a bracket, clip, or vehicle-specific mounting point.
Examples (in concept, not brands):
- Mirror-area brackets
- Clip-in shroud mounts
- OEM-style replacement covers with integrated camera mounts
Pros:
- Less dependent on tape strength alone
- Often cleaner-looking and more stable over time
- Can reduce mount creep in high heat
Cons:
- Vehicle-dependent
- Some options require careful routing for power
- Must be placed thoughtfully on ADAS windshields (don’t block sensors)
Best use:
- Drivers who are done with tape failures
- Hot climate daily drivers
- People who want a factory-style look and stable alignment
If you’re aiming for an OEM-look style solution, this is the general direction.
And if you’re pulling power from the mirror area for a cleaner install.
Comparison Table: Heat-Resistant Mount Options
When & How to Use Static Film
Static film is one of the most misunderstood mounting aids. It’s useful, but only when used correctly.
What static film is
It’s a clear sheet that clings to glass through static/electrostatic attraction. It’s not glue. It’s meant to create a removable, uniform surface on the windshield.
Why it protects adhesives
Used properly, static film can:
- provide a clean bonding surface (especially if your glass has minor texture or coatings)
- reduce the chance of adhesive residue directly on the windshield
- make repositioning less painful if you change camera placement later
Correct installation order
- Clean the glass thoroughly (remove oils, not just dust)
- Apply the static film to the glass
- Squeegee out bubbles firmly (bubbles are future failure points)
- Apply the adhesive mount onto the film
- Let the adhesive “set” before stressing it (avoid immediate heavy adjustment)
When it helps
- You want adhesive stability but less permanent residue
- You may move the camera later
- You want a cleaner surface than raw glass provides in your specific area
When it doesn’t
- Your dash cam is overheating and crashing (static film doesn’t cool electronics)
- You’re mounting onto heavy frit dots (static film still struggles on textured dot fields)
- Your adhesive is low quality (film can’t fix bad tape)
If your primary issue is crashes and reboots, focus on heat reduction and camera design choices in the later sections.
Positioning & Mounting Fixes That Reduce Heat
You can’t “defeat summer,” but you can reduce the thermal load and improve stability.
1) Place the camera high behind the mirror
A higher mount often helps because:
- the mirror can shade the camera slightly (vehicle-dependent)
- it reduces direct sun angles at certain times of day
- it keeps the camera out of the main dashboard reflection zone
This also tends to look cleaner and reduces driver distraction.
If you have ADAS sensors, stay out of sensor sightlines and avoid center sensor windows.
2) Avoid direct sun exposure when possible
Small changes matter:
- shifting the camera a few centimeters can reduce direct beam exposure
- keeping the camera body slightly shaded by the mirror housing can help
- parking with the windshield out of direct sun reduces peak cabin heating
This won’t make your dash cam “heat-proof,” but it reduces how often it hits thermal limits.
3) Angle for airflow (without blocking vents)
During driving, airflow is your friend. Two practical tips:
- Don’t bury the camera against thick plastic trim that traps heat
- Keep cables tidy so they don’t create a “heat pocket” around the body
Avoid routing that blocks defrost vents. Those vents are useful for clearing fog and also help move air near the glass.
4) Reduce interior heat load when parked
A sunshade won’t solve electronics overheating by itself, but it can reduce how quickly the cabin bakes.
If you park outdoors for long hours, a windshield sunshade is a simple heat-management tool.
Think of it as lowering the baseline temperature so the camera has more margin before it crashes.
Preventing Heat-Related Camera Crashes
Mounting fixes stop fall-offs. Crash prevention requires a second layer: reducing camera heat stress and improving stability.
1) Update firmware
Manufacturers sometimes improve thermal behavior, stability, and SD card handling through firmware updates. It won’t transform a weak design into a heat warrior, but it can reduce crash frequency and odd reboots.
2) Lower recording load if needed
If your dash cam overheats frequently, reducing workload can help:
- drop resolution one step (example: 4K to 1440p)
- reduce frame rate if your camera allows it
- turn off always-on Wi‑Fi broadcasting if you don’t use it
Less processing can mean less internal heat. It’s not a guarantee, but it’s a practical lever.
3) Avoid battery-based models in extreme heat
Battery-based dash cams can be more vulnerable in hot environments. That doesn’t mean every battery model is unsafe or unusable, but it does mean heat risk is higher and long-term reliability can suffer.
Supercapacitor-based designs are generally better suited to hot windshields because they’re built to tolerate heat cycles and don’t rely on a lithium battery sitting behind glass.
For a clear explanation of why this matters.
4) Treat the SD card as part of the thermal problem
Heat doesn’t just affect the camera. It also stresses the SD card, and storage instability can look like “overheating” because the camera may reboot or stop recording when writes fail.
If you’re seeing corruption, missing clips, or card errors during hot weeks, fix storage first:
- Use an endurance-grade card
- Format on schedule
- Replace cards before they become flaky
Start here.
And if you’re already stuck in the error loop.
5) Power stability matters in heat
In summer, voltage dips and noisy power can trigger reboots more easily, especially if the camera is already hot.
If you’re using parking mode or want a cleaner, more stable setup:
- Parking mode + battery protection basics.
- Safe hardwiring methods.
- If you prefer an easier mirror-power route.
Practical “Fix Combos” That Work Better Than One-Off Tweaks
If you’re tired of repeated failures, combine fixes. Heat problems usually require two solutions: one for mounting, one for thermal stability.
Here are reliable combinations that tend to hold up better:
Combo 1: VHB adhesive + high behind-mirror placement
Best for: permanent installs, minimal fuss
Why it works: stronger bond + slightly better shading/positioning
Combo 2: Static film + VHB + careful bubble-free install
Best for: people who want cleaner removal or are still dialing placement
Why it works: improved surface + strong adhesive + easier reposition later
Combo 3: Quality suction mount + removable habit
Best for: renters, travelers, or drivers who park in brutal sun all day
Why it works: you can remove the camera during peak heat instead of baking it
Related: https://reviewfriendly.com/best-dash-cam-rental-cars-travel
Combo 4: Mechanical bracket mount + capacitor-based camera
Best for: hot climates + long-term reliability
Why it works: less dependence on tape + more heat-tolerant power design
Context on capacitor advantage: https://reviewfriendly.com/capacitor-vs-battery-dash-cam-safety
Heat-focused dash cam selection help: https://reviewfriendly.com/best-dash-cam-heat-reddit
Closing
If your dash cam is overheating in summer or falling off the windshield, that’s an environmental problem—not a personal failure. Windshields amplify heat, adhesives soften, and electronics hit their limits when parked cars bake for hours.
The fix isn’t repeatedly re-sticking the same pad. The fix is using mounting methods that tolerate heat cycles and choosing placement that reduces direct thermal punishment.
The most reliable approach usually looks like this:
- Use proper-grade adhesive (or a mechanical mount) instead of generic foam tape
- Add static film when you need a cleaner surface or easier removal
- Mount high, keep it stable, and reduce direct sun when possible
- Reduce crash risk with firmware updates, lower recording load if needed, and heat-sensible hardware choices
- Don’t ignore the SD card—heat-related corruption often starts there
Do a quick “summer prep” before the hottest weeks hit. A stable mount and a heat-aware setup now prevents the worst kind of failure later: the camera that quits when you actually need the footage.