
You spent a Saturday fixing cloudy headlights. Three months later, the yellow haze is back. If you searched “best uv for headlight restoration reddit,” here’s the useful answer: choose a coating made for headlight UV protection, then follow its full prep process. A wipe-on kit suits most first-time users. A headlight clear coat needs more care. Film adds chip protection, but takes more skill.
Sanding can strip away the old UV shield along with the damage. Polishing makes the lens look clear, but does not rebuild that shield. Reddit threads show both good results and early failures. This guide helps you weigh those stories without treating them as guarantees.
As an Amazon Associate, I earn from qualifying purchases. Product links below are affiliate links.
At a glance: The table compares costs and claims, not lab-tested lifespans. A wipe can hold a hard coating, so these groups overlap.
Coatings, Sprays & Film / Five Approaches
Headlight UV protection, at a glance
Same goal — keeping UV from turning lenses cloudy — but very different levels of cost, effort, and durability. Prices and lifespan lines below stay close to how each maker states them.
| Type | Cost | Durability | Difficulty | Best For |
|---|---|---|---|---|
WOWipe-on coating kit | Low cost$17.95CERAKOTE listed at | Varies by formula and prep; no shared lifespan | Low to moderate | Your first full restoration |
SPOne-part headlight spray | Low cost$13.99Meguiar’s listed at | Meguiar’s claims up to one year | Moderate | Already-restored lenses |
TCTwo-part headlight clear coat | Higher costHigher once safety gear is included | Made for durable protection; no universal year count | High | Experienced users with proper spray equipment |
CCHeadlight ceramic coating | VariesVaries; may come in a wipe kit | Product-specific; check terms and care needs | Low to moderate | A wipe-on protective finish |
PFHeadlight protection film | Installed quoteGet a vehicle-specific installed quote | Some films have multi-year warranties; terms vary | High on curved lenses | Extra stone-chip protection |
Note on the wording: prices are the ones listed at the time of writing and can change; durability lines stay deliberately close to each maker’s own language — claims like “up to one year” are the manufacturer’s, not a guarantee. Check current warranty terms, care requirements, and your lens condition before choosing.
Listed prices are US product-page snapshots checked for this draft on November 12, 2026. They exclude tax and shipping. Amazon prices and stock may differ; check the linked listing before buying.
Why UV Protection Matters After Headlight Restoration
Most modern headlight lenses use polycarbonate [tough, clear plastic]. A factory hard coat shields that plastic from sun and wear. Once it breaks down, the lens can turn dull or yellow.
Sanding removes worn coating and damaged surface material. Polish then smooths fine marks, where the chosen system calls for it. Neither step alone gives you a new UV barrier.
Sunlight can break down exposed plastic over time. How fast that happens depends on the lens and its use. A clear lens today does not prove it will stay clear next summer.
What Reddit Says About UV Protection for Restored Headlights
Recent r/AutoDetailing discussions show a wide spread of results. Some owners praise wipe kits after a year or more. Others report fading, streaks, or haze much sooner. Those stories help you spot pitfalls, but they are not controlled tests.
The most common recommendations:
The options that recur in the threads reviewed are headlight clear coats, ceramic wipe kits, and film. Users also discuss stand-alone sprays and wipe-on sealants. There is no single winner across the discussions.
Common complaints:
Haze after spraying, streaks from wipes, and yellowing after outdoor use all appear. Film users also mention how hard curved lenses are to wrap. Peeling or rough spray texture can turn a small job into more sanding.
Avoid assuming every failure comes from poor prep. Product choice, old lens damage, and weather can matter too. A forum comment rarely gives you enough detail to isolate the cause.
Reddit’s consensus on durability
There is no reliable Reddit-wide lifespan or agreement. In the reviewed threads, some kit users describe roughly a year of clarity. Others describe fading within months or clear lenses after two years.
Treat those as individual reports, not a promise for your car. Long-lasting results need follow-ups, not just votes. A warranty also differs from proof that every lens stays clear.
Types of UV Protection Explained
UV Wipes (Wipe-On Sealants)
A wipe is a way to apply a product. It does not tell you what that product contains. Some wipes clean; others leave a cured clear coat. Some apply a ceramic finish.
That matters in the headlight restoration wipes vs coating debate. You may be comparing two coatings with different applicators. Read the label for UV protection and use on bare, restored lenses.
Wipes are easy to handle and create no spray drift. The trade-off is less room to fix a streak once the layer sets. Do not assume every wipe needs a fresh coat every few months.
UV Clear Coats (Spray or 2K)
A UV clear coat for headlights forms a protective layer. One-part sprays are ready to use. A 2K product [two parts mixed before use] cures through a chemical reaction.
Choose a formula made for headlight plastic. General-purpose clear paint is not an automatic match. Wrong solvents or prep can leave haze, cracks, or poor grip.
Spraying takes masking, steady passes, and the right weather. Runs and orange peel [a rough, dimpled finish] can spoil clarity. More coats do not always mean better results.
2K safety: Isocyanates [chemicals that can harm breathing] occur in many two-part clears. Spraying them needs proper extraction and air-fed breathing equipment, plus skin and eye protection. A dust mask or ordinary filter respirator is not enough. If you lack that setup, choose a wipe system or a qualified shop.
Ceramic Coatings
A ceramic coating can leave a smooth, easy-clean surface. Some formulas also make water bead. But beading alone does not show how well a product blocks UV.
Choose ceramic coating for headlights with a stated use on restored plastic. A paint spray with “ceramic” on the bottle may serve a different purpose. Check whether it replaces the lens coating or only tops up an existing finish.
Paint Protection Film (PPF)
PPF [clear, stick-on protective film] adds a barrier against road wear and chips. It can suit a car you plan to keep. The lens must still be sound and properly prepared.
Do not assume all clear film blocks the same amount of UV. Ask about the exact film and its use on restored headlights. A warranty against film yellowing is not a promise about the plastic beneath.
Curves, edges, and trapped dirt make fitting tricky. A pro can check adhesion and lens condition before work starts. Ask for a written quote and the headlight-specific warranty.
Wipes vs Coatings: Side-by-Side Comparison
The table near the top is your quick comparison. The main choice is the protective formula, then the way you apply it. A good wipe-on coating is not just a temporary shine product.
For most first-time users, a matched kit removes guesswork. Spray clear suits people who can control prep and application. Film makes more sense when chip damage is also a concern.
Best UV Protection Picks by Use Case
These picks match product design to your needs. They are research-based recommendations, not claims from hands-on testing. No product here has a proven lifespan for every car.
Best for beginners / quick fix:
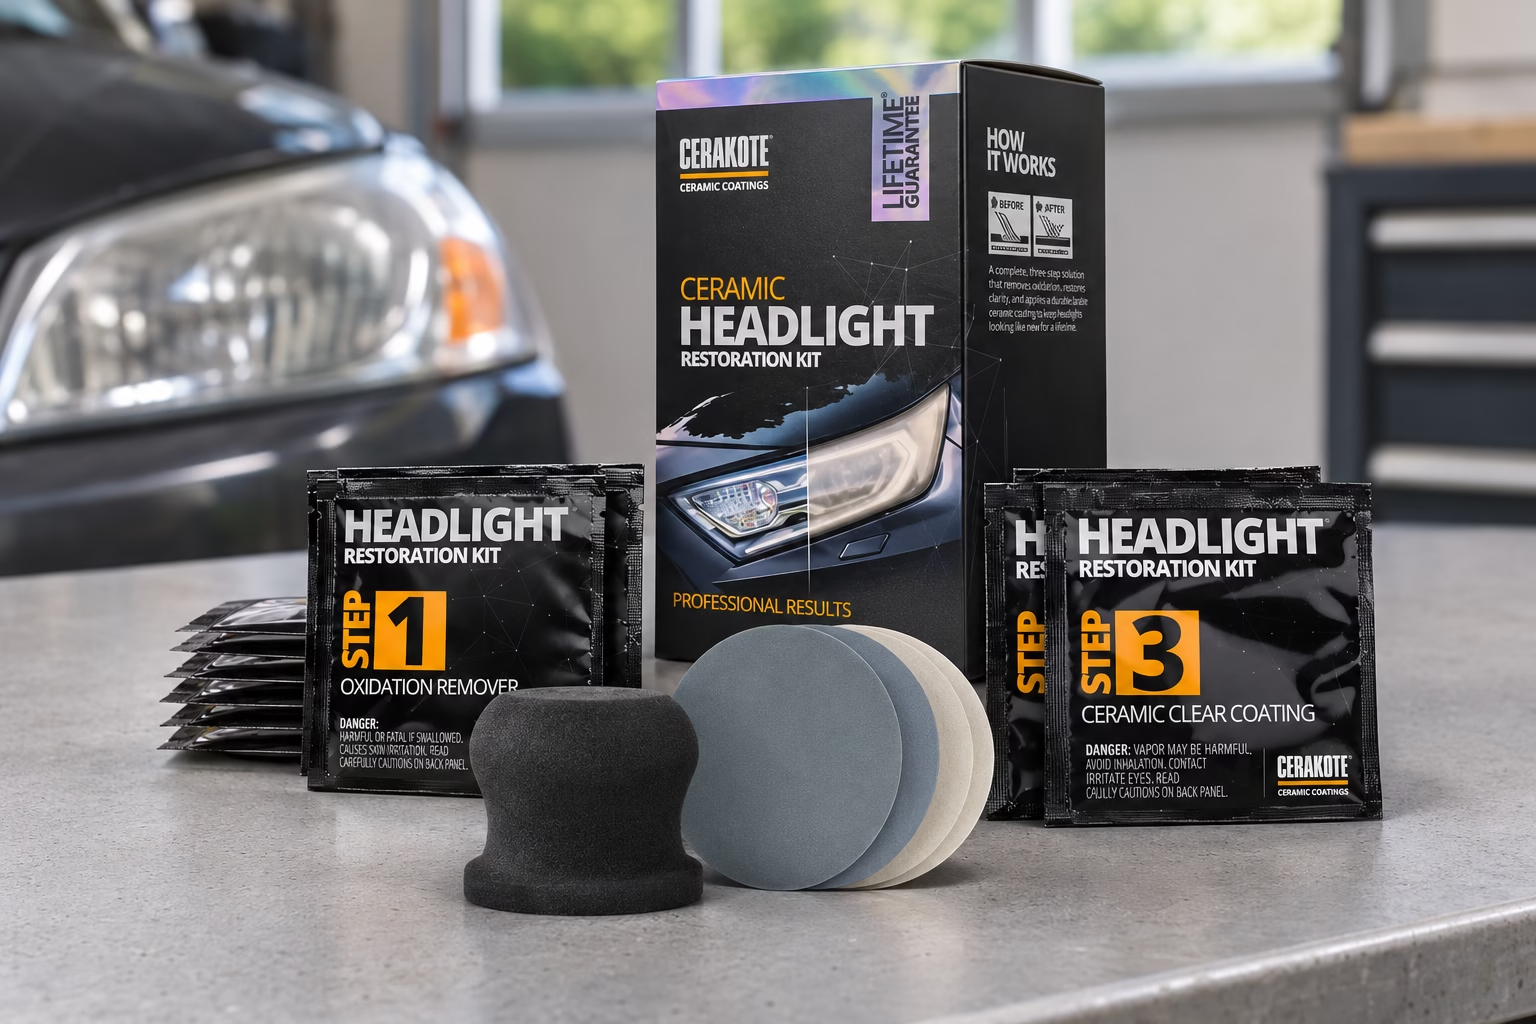
CERAKOTE Ceramic Headlight Restoration Kit suits a first full restoration. It pairs prep supplies with a wipe-on ceramic finish. You do not need a power tool.
Plan for cleaning and sanding, not just a quick wipe. Use the full system on lenses that need restoration. Do not sand sound, clear headlights just to try a kit.

Best for long-lasting DIY results:
A headlight-specific 2K clear is worth considering if you have proper spray equipment. It is designed to form a durable protective coat. There is no sound basis here to promise a fixed number of years.
For a first driveway job, the extra risk and gear can outweigh the gains. A shop quote may be more useful than a cheap aerosol price. Ask how the shop prepares bare plastic and backs its work.
Best for easy maintenance:
The CERAKOTE kit above is also a practical headlight ceramic option. Its wipe format keeps application simple after prep. Still wash the lenses with care and inspect the finish.
Its limited lifetime guarantee offers refund or replacement under the stated terms. That is not a measured lifespan for your headlights. Keep your receipt, and read the terms before buying.
Best for maximum protection:
Choose a professional headlight-film service when stone chips are a main concern. Ask for a clear film approved for your lenses. Check that the installer accepts previously restored headlights.
Some headlight films carry multi-year product warranties. Coverage, fitting rules, and exclusions differ. Ask what happens if the film lifts or the lens beneath turns yellow.
Best budget option
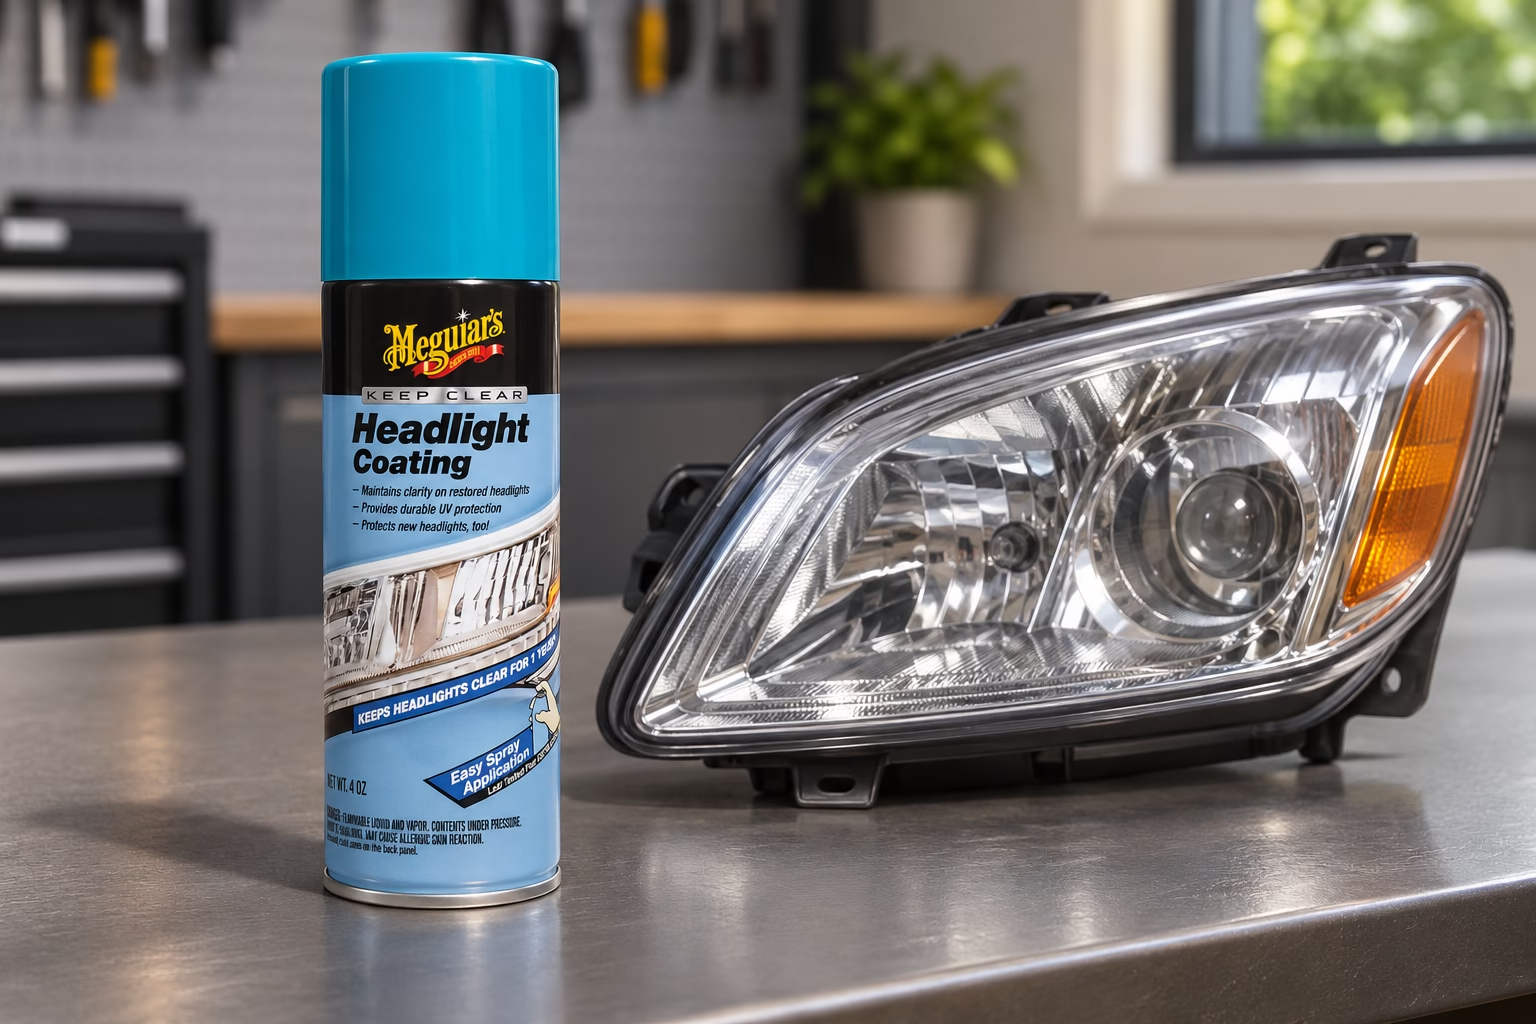
Meguiar’s Keep Clear Headlight Coating G17804 is a sensible shortlist pick for already-restored lenses. It is a stand-alone spray, not a full sanding kit. Its stated protection period is up to one year.
The brand’s direct store listed the 4-ounce can at $13.99 during research. That is not a confirmed Amazon checkout price. If you still need sanding supplies, compare the total with a full kit.
How to Apply UV Protection Correctly (Step-by-Step)
Choose your coating before you sand. The right final grit, cleaner, and polish step depend on that choice. Combining steps from different kits can weaken the result.
- Wash, inspect, and mask. Remove grit and dirt first. Protect nearby paint before sanding. Check for cracks or moisture inside the housing.
- Wet sand as directed. Use the grits your system calls for. Keep the surface wet when required. Remove the previous grit’s marks before moving on.
- Polish only if required. Some coatings need a finely sanded, frosted surface. Adding polish can change that surface or leave unwanted residue.
- Clean and dry. Use the specified cleaner. An isopropyl alcohol wipe is not a universal requirement. Avoid strong solvents and let seams dry fully.
- Check masking and apply. Follow the stated coat count, overlap, and wait times. Do not keep wiping a layer that has started to set.
- Protect the cure. Keep away water, dust, and washing for the stated period. Dry to touch does not always mean fully cured.
For example, CERAKOTE’s instructions end sanding at 3000 grit. They call for a dry lens and one coat, without a polish step. They specify at least 60 minutes before driving or moisture exposure. Follow the instructions supplied with your pack if they change.
Common mistakes that cause early yellowing
- Skipping protection after sanding.
- Leaving patches of failed coating or deep scratches.
- Using a product meant only for paint.
- Applying over water, polish oils, or dirt.
- Ignoring temperature, damp-air limits, or cure times.
- Mixing products without checking that they work together.
How Long Does Headlight UV Protection Last?
There is no honest single answer to how long does headlight restoration last. The product, prep, lens condition, and sun exposure all affect it. Outdoor parking can make upkeep more demanding than garage storage.
Use the named product’s claim as a guide, not a guarantee. Meguiar’s states up to one year for Keep Clear. Wipe-on products have different formulas, so a single “three to six months” rule would mislead.
Check your lights during each wash. Look for dull edges, patches, cracks, or lifting film. Early changes are easier to assess before the whole lens clouds over.
Wash with a mild car shampoo and a soft cloth. Avoid harsh cleaners and abrasive polish on a sound coating. Add wax or sealant only when the coating maker allows it. Park in shade where you can.
FAQ
Do I need UV protection after restoring headlights?
Yes, if restoration removes the protective factory layer. Use a product meant for restored headlight plastic. Polish alone smooths the lens but does not rebuild that hard coat.
Can I use car wax as UV protection on headlights?
Do not rely on ordinary car wax as the sole shield for sanded lenses. Use a dedicated headlight UV coating first. Wax may be an allowed top-up, but check both products’ instructions.
Are headlight restoration wipes worth it?
Yes, when they apply a protective coating suited to your lenses. Cleaning wipes alone are different. Check what each wipe does, and complete the required prep before coating.
Is ceramic coating better than clear coat for headlights?
Neither label guarantees better results. Some ceramic products are wipe-on clear coatings themselves. Compare the exact formula, its use on restored plastic, and the prep and care it needs.
How often should I reapply UV sealant?
Follow the product’s schedule and inspect the lenses during washes. There is no shared interval for all sealants. A cured coating may need fresh prep rather than another layer on top.
Why did my headlights turn yellow again so fast?
Possible causes include missing UV protection, poor prep, a failed coating, or heavy sun exposure. Internal haze can also look like surface failure. Check the lens before sanding it again.
Final Verdict: Which UV Protection Should You Choose?
Your search for “best uv for headlight restoration reddit” should end with a system you can apply well. Choose a matched wipe kit for a first restoration. Pick a stand-alone headlight spray for suitable, already-prepped lenses. Leave 2K spraying to a properly equipped user or shop. Get a film quote if road chips also worry you.
Before buying, check the lens and read the full prep steps. If you still need a complete kit, use our headlight restoration kit guide to compare what comes in the box.