1) Problem-First
Right after a crash, your dash cam footage can be the difference between a clean claim and weeks of back-and-forth. The problem: footage gets rejected all the time—not because it didn’t record, but because the file was overwritten, exported the “wrong way,” missing key metadata, or shows a timestamp that doesn’t match the incident.
This guide is built to prevent the common fatal mistakes that cause:
- “Corrupted file” errors
- “We can’t verify when this was recorded” timestamp disputes
- Clips that look edited or compressed
- Missing the 30–120 seconds that actually matter
If you’re stressed and in a hurry, follow the steps exactly. You don’t need tech skills—just a careful, evidence-minded process.
2) Before You Touch the Dash Cam (Critical Mistakes Section)
These are the mistakes that most often destroy evidence value.
Do NOT keep driving (unless you must for safety)
Most dash cams use loop recording, meaning they continuously overwrite old video. If you drive around afterward, you may overwrite the crash clip—sometimes within minutes on smaller cards. If you must move, do it only to a safe location, then stop recording as soon as it’s safe.
Do NOT reformat the SD card
Formatting can erase the original files or change the file system. Even if recovery is possible later, it adds doubt and delays. Leave the card exactly as-is.
Do NOT edit, trim, crop, add captions, or “enhance” the video
Edited footage creates credibility problems. Insurance and police typically want the original file(s) directly from the camera/card. You can make a separate “viewing copy” later, but the original must remain untouched.
Do NOT export via social media apps (WhatsApp, Messenger, Instagram, TikTok)
Social apps compress video, strip metadata, and reduce quality—exactly what you don’t want when details matter. You may end up with a blurry, low-resolution copy that looks suspiciously “processed.”
3) Step-by-Step: How to Export Dash Cam Footage Properly
Below is the safest, brand-agnostic method that preserves the original file and metadata.
Step 1 — Stabilize power (don’t create a corrupted file)
1) If you’re in a safe spot, leave the dash cam powered for 30–60 seconds after the incident.
2) If the car is off and the camera is still recording, don’t yank the power cable.
3) If the camera has a “Stop Recording” button/menu option, use it.
Why this matters: sudden power loss while writing to the SD card is a top cause of “dash cam corrupted file” problems.
Step 2 — Lock/protect the clip immediately (if your cam supports it)
Many dash cams have an “Emergency / Lock” button or they auto-lock when the G-sensor detects impact.
- Press the lock button as soon as you can safely do so.
- If the screen/menu shows a “locked” icon, confirm it’s enabled.
Locked files are less likely to be overwritten by loop recording (but don’t rely on this alone).
Step 3 — Choose your export method (best to worst)
Best (most defensible): Direct SD card access using a card reader on a computer Good: Manufacturer app export to phone + then upload the original file from phone storage (not through messaging apps) Riskier: Screen recordings, “share” buttons that downscale, or anything that changes format/quality
If you’re dealing with a serious collision, injuries, or disputed fault, prioritize SD card + computer.
Step 4 — Remove the SD card safely
1) Make sure recording is stopped (or the unit is powered down).
2) Eject/remove the SD card gently.
3) Put the SD card somewhere safe immediately (wallet, small envelope, zip pouch).
Tip: Treat the SD card like evidence. Don’t leave it loose in a cup holder.
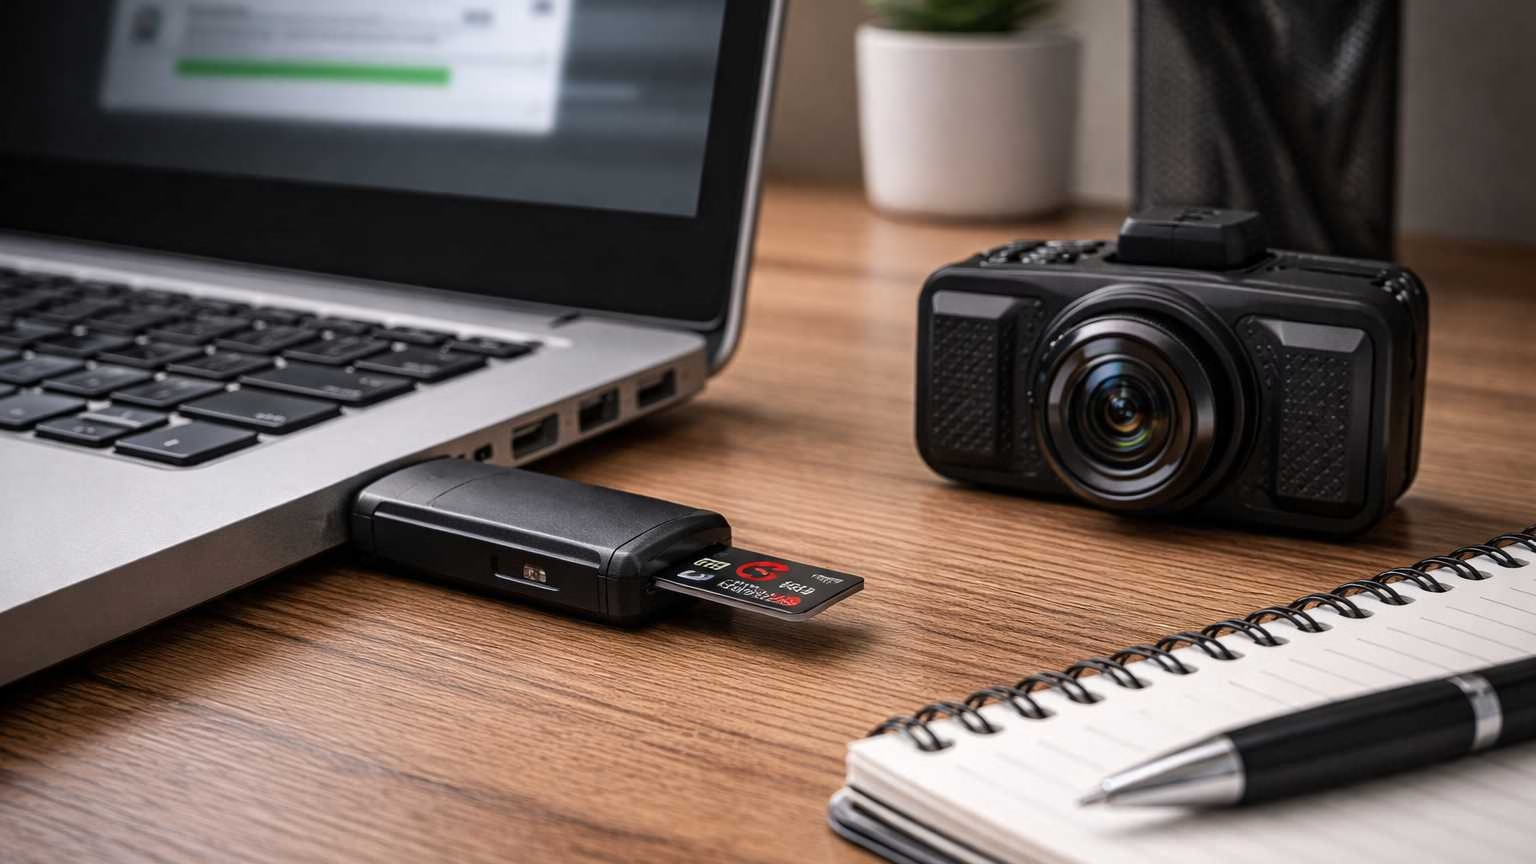
Step 5 — Export using a computer (recommended workflow)
What you need: SD card reader + computer (Windows/Mac)
- Insert SD card into the reader.
- Create a folder on your computer named like this (simple and consistent):
- “Crash_YYYY-MM-DD_Location”
- Copy the entire SD card contents into that folder (not just one clip).
- This preserves context (before/after clips), camera folder structure, and metadata.
- After copying, open the copied video file and confirm it plays from start to finish.
Important: Copy first. Watch second. Don’t “move” files (moving can fail if the connection glitches).
Step 6 — Export using the manufacturer app (when you can’t access a computer)
Use this only if SD-to-computer isn’t possible right away.
- Connect to the dash cam with the official app.
- Find the event clip and choose “Download / Save original.”
- In your phone’s file manager (or Photos), confirm the downloaded file size looks normal (not tiny) and the format is standard:
- MP4 is most common
- MOV is also common
- Do not “share” directly through messaging/social apps. Save it locally first.
If the app only exports a low-quality preview, you’ll need SD card access to get the real file.
Step 7 — File formats: what insurers/police typically expect
- Most compatible: MP4 (H.264/H.265)
- Also common: MOV
- What causes headaches: proprietary formats that require a special player
If your camera records a proprietary format, include the manufacturer’s player app or instructions when you deliver the footage.
4) Time & Date Sync (One of the Most Common Failures)
Incorrect timestamps don’t automatically “invalidate” footage, but they absolutely weaken it—especially if the other party disputes the sequence of events.
Why incorrect timestamps weaken claims
Insurance adjusters and officers often compare:
- The timestamp on the video
- Your call logs / claim report time
- Photos’ metadata time (if available)
- Police report incident time
- Location and lighting conditions (day/night)
If your dash cam says “2:13 AM” but the crash happened at 2:13 PM, they may question reliability—unless you explain it clearly and early.
How to verify time before exporting
Do this as soon as you’re safe: 1) Look at the dash cam screen overlay time/date.
2) Compare to your phone’s current time.
3) Note any mismatch (even a few minutes).
How insurers/police evaluate time mismatch
They generally look for consistency, not perfection. A mismatch becomes a problem when:
- It’s off by hours or days and you don’t disclose it
- It looks like the clip could be from a different incident
- Only a short edited segment is provided with no surrounding context
What to do if the time is wrong (be honest)
1) Do not change the time and then re-export the same clip hoping it “fixes” the old timestamp. It won’t change the timestamp that was embedded when recorded.
2) Export the footage anyway, preserving the original.
3) When you submit, add a simple note:
- “Dash cam clock was set incorrectly by __ minutes/hours. Actual crash time was __. Footage is original/exported without edits.”
If your dash cam supports GPS time sync, enable it later (after the claim) to prevent future problems.
5) File Integrity & Proof Tips (VERY IMPORTANT)
If someone challenges your footage, your best defense is demonstrating that you preserved the original and made clean, verifiable copies.
Why “dash cam corrupted file” happens
Most “corrupted” issues come from:
- Power loss while writing
- Removing the SD card while recording
- SD card wear/failure (especially non-endurance cards)
- Recording settings too heavy for the card
If you want a deeper reliability fix later, see SD card guide and card error / loop recording fix guide.
How to create backups correctly (the 3-copy rule)
Create: 1) Original SD card (do not alter)
2) Computer copy (your working copy)
3) Second backup (cloud or external drive)
Practical approach:
- Copy SD → computer folder
- Copy that folder → USB drive
- Upload that same folder → cloud storage (Google Drive/OneDrive/Dropbox)
How to name files for evidence (simple and consistent)
Avoid renaming the original video file itself if possible. Instead:
- Keep originals in an “ORIGINALSDONOT_EDIT” folder
- Put duplicates in a “SHAREWITHINSURANCE” folder with clear names like:
- “FrontCamImpactYYYY-MM-DD_HHMM”
- “RearCam30secbeforeYYYY-MM-DDHHMM”
Also keep a short text note (or email draft to yourself) stating:
- Date/time of crash (real-world)
- Location
- Dash cam model (if known)
- Any known timestamp offset
Checksum / hashing (simple explanation)
A checksum (or “hash”) is a digital fingerprint of a file. If the file changes—even by one pixel—the fingerprint changes.
You don’t need to be technical, but if the incident is serious, generating a hash for the original file copy can help prove it wasn’t altered later.
If you can, ask a tech-savvy friend to generate SHA-256 hashes for the key files and save them in a text file inside your evidence folder.
Screenshots vs raw video: what’s acceptable?
- Raw video is the primary evidence. Always provide it.
- Screenshots are helpful for quick context (plate numbers, traffic light state), but they are not a substitute for the actual file.
- If you must send screenshots, send them in addition to the original video, not instead of it.
6) How to Deliver Footage to Insurance or Police
Your goal is: deliver a playable file with minimal quality loss and a clear chain of custody.
Best delivery methods
- USB drive (hand-delivered or mailed): reliable, no compression
- Official insurer upload portal: usually fine, preserves file better than email
- Cloud link (Drive/OneDrive/Dropbox): good when portals reject large files
Email is often unreliable
Email attachments have size limits and sometimes trigger automatic compression or conversion. If you use email:
- Send a cloud link instead of attaching the video
- Keep the folder structure intact if possible
Why WhatsApp/compression is dangerous
Messaging apps commonly:
- Downscale resolution
- Change bitrate
- Strip metadata
- Convert formats That can turn “clear plate at 20 feet” into “blurry mess,” and it can raise “edited file” suspicion.
What officers usually accept
This varies by agency and what they’re doing (report vs investigation), but commonly accepted options are:
- USB drive
- Email/cloud link provided to the reporting officer or records unit
- In-person viewing (they may note what they observed rather than taking the file)
Practical tip: Ask, “What format do you prefer and what’s your best method to receive a large file?”
What insurers typically reject (or struggle with)
- Social-media-shared clips
- Tiny “preview” downloads
- Edited highlight reels
- Files that won’t play in common players
- Clips with no context (only 5 seconds of impact)
Always include at least 30–60 seconds before and after the event when possible.
7) If Your Dash Cam Uses Loop Recording
Loop recording is great for daily driving, but it’s the enemy of evidence retention after a crash.
How loop recording overwrites evidence
The camera records in segments (often 1/3/5 minutes). When the card fills, it overwrites the oldest segments first. If you keep driving, you can overwrite the crash sequence quickly.
How to lock footage immediately
Do these as soon as you’re safe: 1) Press the “Lock/Emergency” button
2) Stop recording
3) Power down
4) Remove SD card and store it safely
If you want to understand loop failures and card issues long-term, see loop recording troubleshooting guide.
What to do if it’s overwritten already (realistic outcomes)
- If it’s overwritten, recovery is sometimes possible but not guaranteed.
- Do not keep recording on that card—continued use reduces recovery chances.
- Stop using the card and seek professional data recovery only if the stakes justify the cost.
For most minor collisions, focus on other evidence too (photos, witness info, police report), but preserve whatever remains on the card immediately.
8) Brand-Agnostic Notes
Dash cams vary a lot:
- Some export full-resolution originals via app; others export only previews
- Some create separate “event” folders for locked clips
- Some embed GPS/time differently
Your safest approach is always:
- Preserve the SD card
- Copy the entire card to a computer
- Provide the raw files without edits
Also: keep your camera healthy long-term. SD cards are a common weak point. If you’re seeing glitches, start with proper SD card setup.
9) Honest Affiliate Disclosure
Some links on this site may be affiliate links, meaning I may earn a small commission if you buy through them (at no extra cost to you). I do not personally test every dash cam mentioned across the site. Recommendations are based on aggregated user experiences, verified long-running Reddit discussions, and broad public consumer feedback. The goal is to reduce your research burden—not to claim firsthand testing of every product.
10) Final Checklist (Scannable Summary)
Use this immediately after an accident:
- [ ] Get to safety first; call emergency services if needed
- [ ] If safe, leave the dash cam powered for 30–60 seconds
- [ ] Press the Lock/Emergency button (if available)
- [ ] Stop recording (don’t yank power mid-write)
- [ ] Do NOT reformat the SD card
- [ ] Do NOT edit/trim the video
- [ ] Do NOT share via WhatsApp/social apps
- [ ] Remove SD card safely and store it securely
- [ ] Copy the entire SD card to a computer folder (copy, don’t move)
- [ ] Confirm the copied file plays start-to-finish
- [ ] Make 2 backups (USB + cloud)
- [ ] Note any timestamp mismatch and disclose it honestly when submitting
- [ ] Deliver via USB, insurer portal, or cloud link (avoid compressed sharing)
- [ ] Provide at least 30–60 seconds before and after the incident when possible
If you want to prevent “corrupted file” problems before your next drive, start with SD card best practices and loop recording fixes.