It starts subtly. You set your chair height in the morning, and by lunch, your knees are higher than your hips. You pull the lever, it pops back up, and you think you’re crazy.
You aren’t crazy. Your gas cylinder is dying.
The pneumatic cylinder (the metal pole connecting the wheels to the seat) is a “wear item,” just like the tires on your car. Most cheap office chairs use Class 3 cylinders that fail after 2-3 years. Even high-end Steelcase or Herman Miller chairs will eventually sink.
The good news? You don’t need a new chair. You need a $20 part and a tool you probably already have in your garage.
Here is the Reddit-approved method to fix it without losing your mind.
Height is only half the battle. If you still struggle with numbness or tailbone pain, the problem is likely the design of the chair itself—see our Reddit consensus on the Best Office Chairs for Sciatica.
They are lying. After 3 years of sitting, that metal cylinder is “cold welded” into the base by friction and gravity. A rubber mallet will just bounce off. To get it out, you need destructive force (a pipe wrench).
What You Need (The Tool List)
Before you start flipping your chair over, gather these three things. Do not attempt this with just a screwdriver.
- A Replacement Cylinder: Most chairs (Secretlab, SIHOO, Staples) use a “Universal Standard” size.
- Recommendation: The Office Oasis Cylinder (Heavy Duty) – It’s Class 4 rated (supports 1,000 lbs) and won’t fail again in a year.
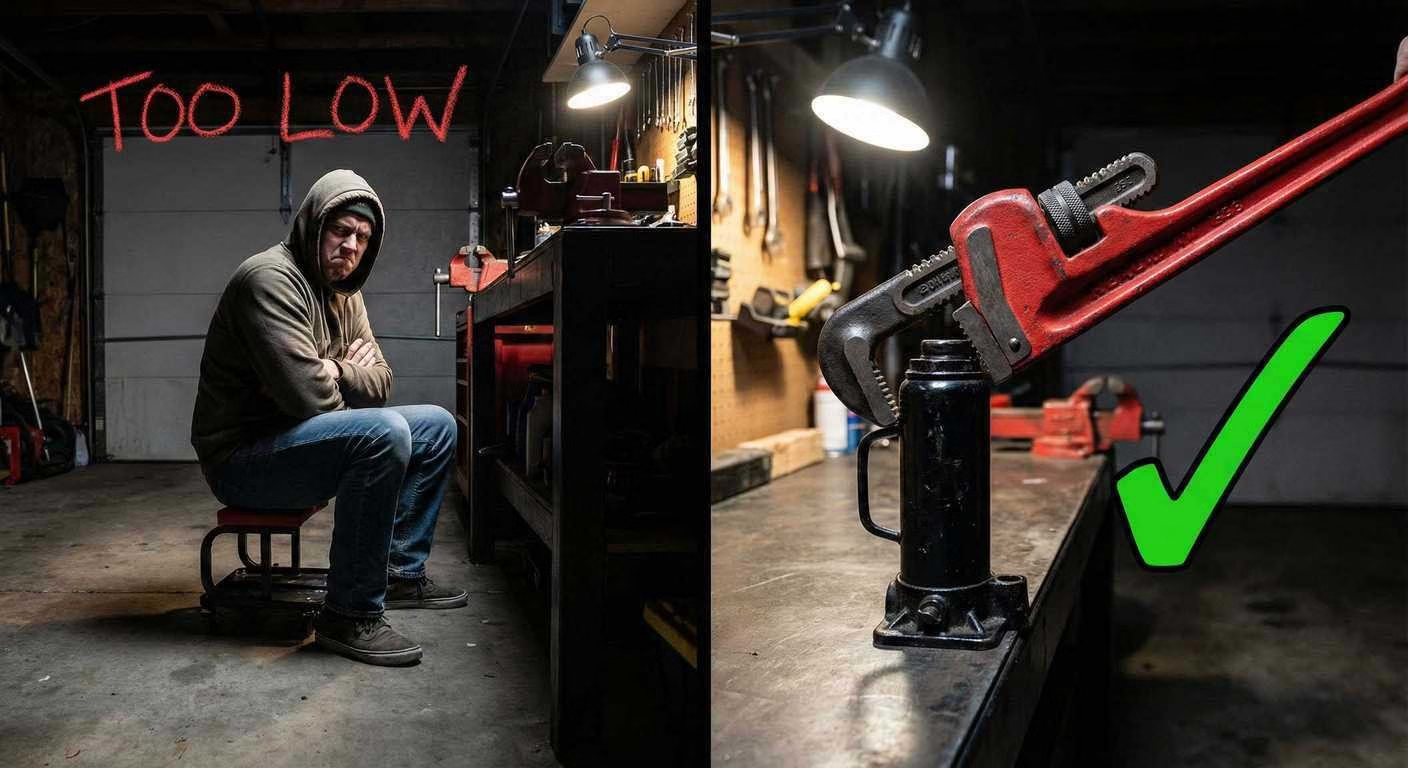
- A Pipe Wrench (14″ or larger): This is non-negotiable. You need the “biting” teeth of a pipe wrench to break the friction seal.
- WD-40 or Penetrating Oil: To help loosen the rust/friction bond.
- A Hammer (Metal, not Rubber): For the bottom removal.
Step 1: Separation (The Hard Part)
The cylinder is held in place by friction at two points: the Mechanism (under the seat) and the Base (the wheels).
The “Pipe Wrench Twist” Technique
This is the trick that r/LifeHacks swears by.
- Raise the chair to its highest position (if it still goes up).
- Lay the chair on its side on a carpet or towel.
- Spray WD-40 where the cylinder meets the mechanism (under the seat). Let it soak for 5 minutes.
- The Secret Move: Attach your pipe wrench to the shiny metal part of the cylinder, as close to the seat mechanism as possible. Tighten it down hard.
- Twist & Pull: Don’t pull straight out. Twist the wrench firmly. You want to rotate the cylinder to break the “rust seal.” Once it rotates, it will slide right out.
Warning: This will scratch the old cylinder. That’s fine. You are throwing it away.
Step 2: removing the Base
Now you have the cylinder stuck inside the wheel base. This is easier.
- Turn the wheel base upside down (wheels in the air).
- Hold the wheel base off the ground (or place it across two sturdy boxes/chairs).
- Take your Metal Hammer and strike the bottom of the cylinder (the little metal circle in the center).
- Hit it hard. Don’t be gentle. It might take 5-10 solid whacks to pop it loose.
- Tip: If it won’t budge, spray more WD-40 and wait 10 minutes.
If it’s time to upgrade, check our guide on the Best Office Chairs for Back Pain (According to Reddit) to see why a used Steelcase might be cheaper than a new Staples chair.
Step 3: Installation (The Easy Part)
- Take your New Cylinder (remove the red/orange plastic cap from the top button if it has one!).
- Drop the fat end into the wheel base.
- Place the chair seat on top of the skinny end.
- Sit down. Your body weight is what creates the new friction seal. Bounce a few times to lock it in.
“The Cylinder Won’t Fit!” (Troubleshooting)
- Scenario A: It drags on the floor. You bought a “Short” cylinder for a “Tall” base. You likely need a standard 5″ stroke cylinder.
- Scenario B: The chair wobbles. You didn’t remove the inner plastic sleeve from the old cylinder. Check the hole in the base—is there a black plastic ring stuck inside? Pop it out with a screwdriver.
Summary
Don’t let a $20 part force you to spend $300. Replacing the cylinder is the single most effective repair you can do for an office chair.
But remember: This fixes height, not comfort. If your back hurts because the cushion is dead, no amount of height adjustment will save you. For that, you need better foam.
Ready to fix it?
- Get the Part: Office Oasis Heavy Duty Cylinder (Amazon)
- Get the Tool: 14″ Heavy Duty Pipe Wrench (Amazon)